Google Tag Manager Extension - Export to Google Sheet
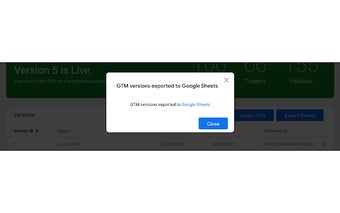
After you install our extension for your Google Tag Manager account, all you have to do is click on the Export to Google Sheet button, and it will create a new Google Sheet with all the selected tags in a new folder in your Drive. You can see your GTM version history and tag configuration in the Google Sheet.
By default our export script creates one tag per row in your spreadsheet. But you can use our export to csv script to create a new column in your spreadsheet, so your tag configuration will be more organized and easier to view.
If you want to export tags that are not exported by default in our extension, you can export those tags to a csv file.
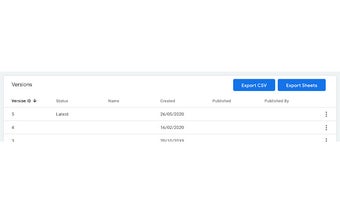
The first step is to select the tags that you want to export. For each tag you should see a checkbox beside the tag name. You should also see a table that shows the version number of the tag. The table allows you to see all the tags that are contained within a particular version. You can also view the date when that tag was created.
If you don't want to see the exported version information in the spreadsheet, you can export to a csv file instead.
Once the tags have been selected, you can click on the export button.
When you are creating a Google Sheet with all of the exported tags, make sure that you have granted permission for your application to access your Google Drive.